Microsoft Exchange 2010
- Open theExchange Management Console and go to Hub Transport
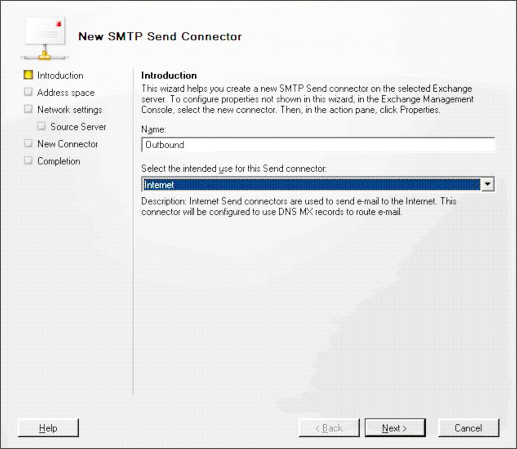
- Click on New Send Connector in the Actions sidebar
- Give a name of the sending server
- On the drop down, select Internet and click Next
- Click on Add to open the dialog box “Add an address”

- At the field “Domain”, insert an asterisk (*) so that all your emails are routed with the new connector
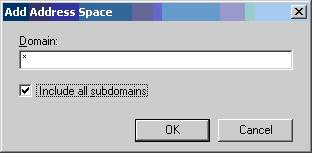
- Make sure the box “Include all subdomains” is checked and click OK
- On the dialog box “New Send Connector with SMTP”, click Next
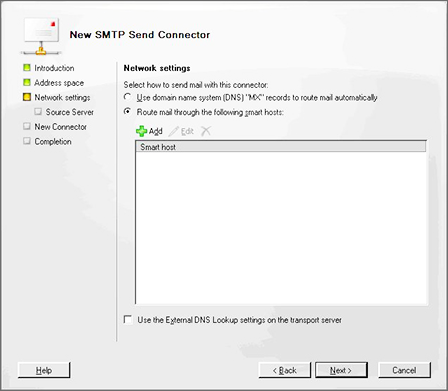
- Under the Network settings, click “Route mail through the following smart hosts”
- Click to add
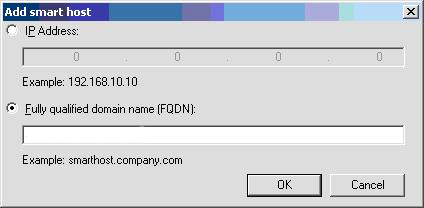
- In the window “Add a smart host”, type “smtp.tipimail.com” for the host domain
- In the Configure smart host authentication settings page, select the Basic. Be sure that TLS are checked to secure the connexion. Type your credentials
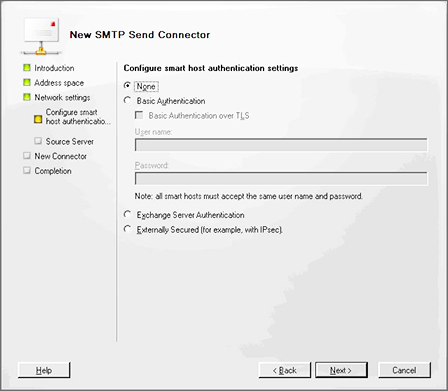
- Click on Next
- On the Source Server page, click Add if you want to allocate additional server at login. Otherwise select the Exchange server in the list
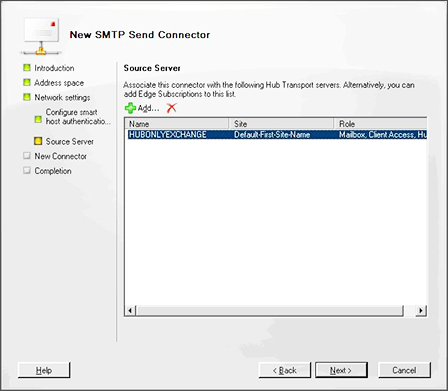
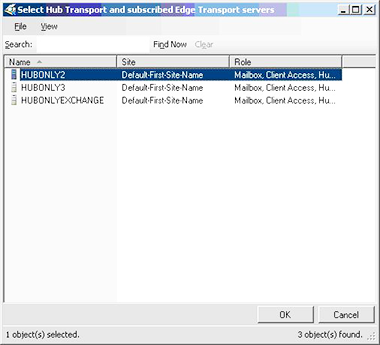
- Click on Next
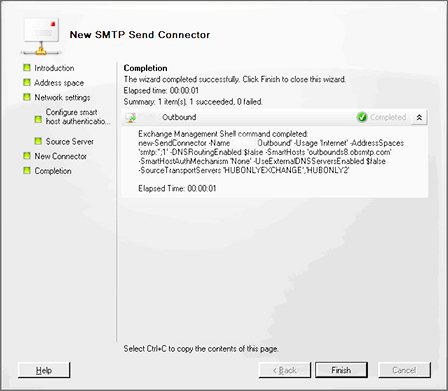
- At the “New SMTP connector”, check your settings and click on the New button if everything is good for you
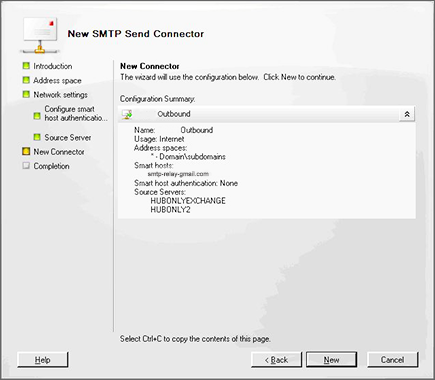
- Click the Finish button to validate your configuration
- When your configuration is complete, send a test message to confirm that your sending server works.